How to use PuTTY to generate SSH Keys, install them on a WHM server (or cPanel account) and use Pageant to manage the keys
Because it took me a while to figure out how to do this right, I wanted to document the whole routine for my future self and anyone else who needs it.
First, if you haven’t already, download and install putty – http://www.putty.org/
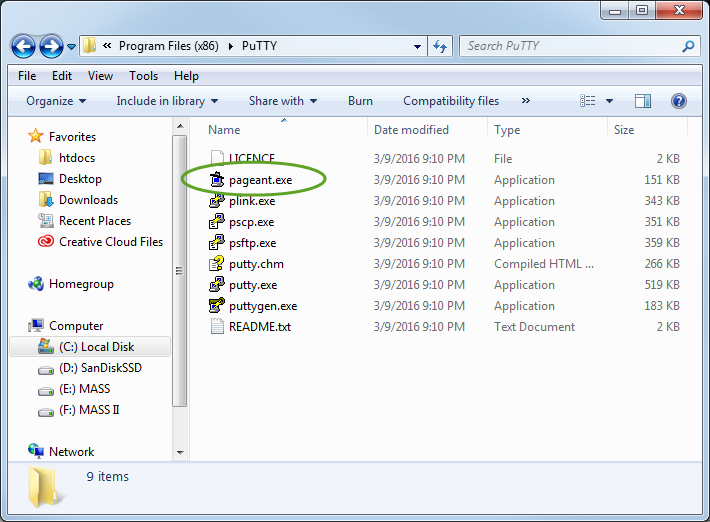
Open the folder C:\Program Files (x86)\PuTTY.
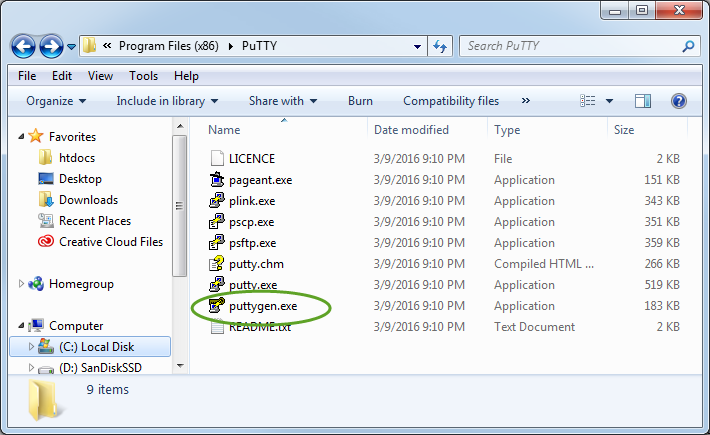
Using Puttygen.exe to generate an SSH Key
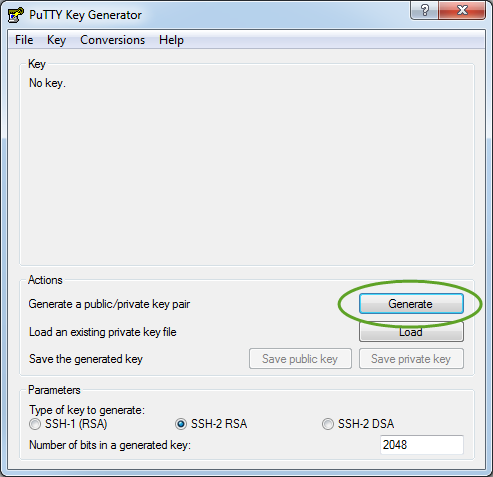
We’re going to create an SSH key that will identifty you to the cPanel/WHM server. Open up puttygen.exe (circled above), and click on Generate (circled below):
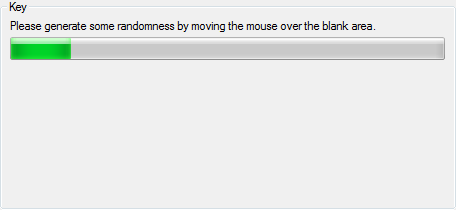
It will ask you to move your mouse around to generate some randomness, in the blank area provided. This has to do with having enough entropy to generate a cryptographically secure key:
Once it’s satisfied, it’ll generate a key, and look like this:
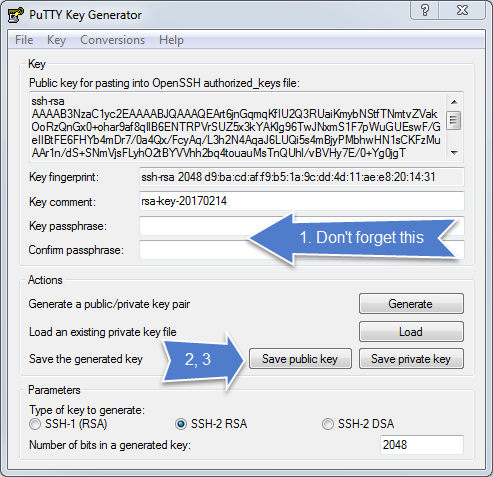
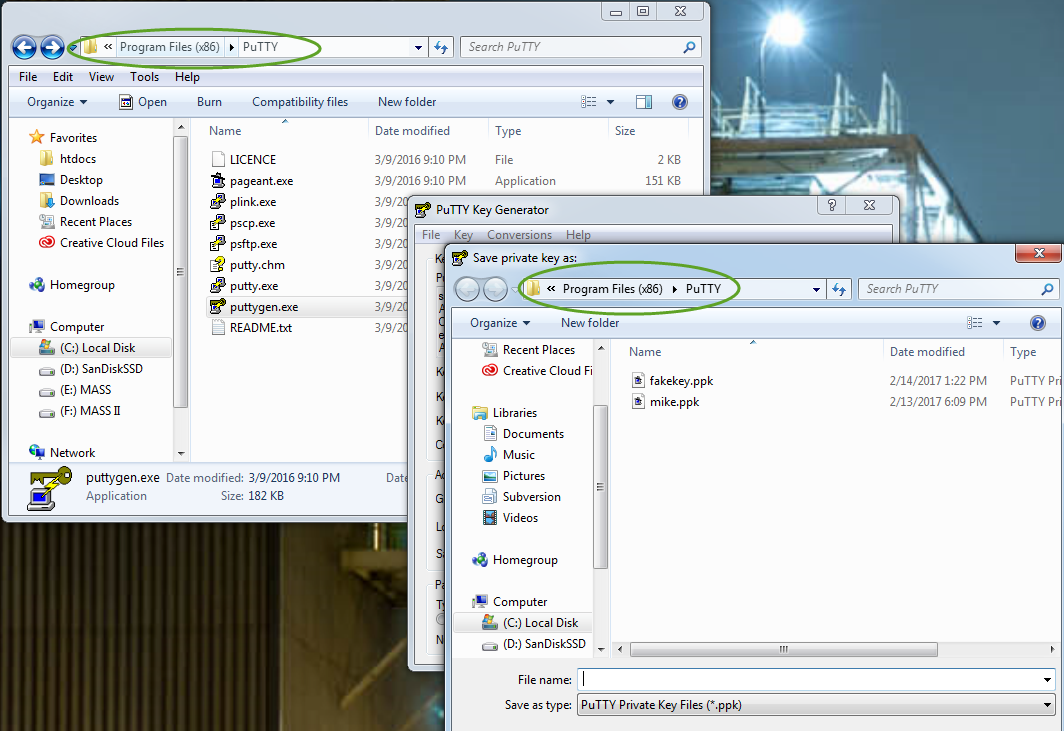
Now you’re going to give it a passphrase and save it. When you save it, name the key something useful so you can identify what server or user it belongs to in the future. And name the public and private keys with the same name before the extension, so you’ll later know that they belong together.
- Enter a passphrase (this will be asked for when you use the key). This can accept spaces, so you could use a sentence if you want to.
- Save the public key (give it the extension .pub).
- Save the private key. (it will automatically have the extension .ppk)
SSH Keys disappearing in Windows
NOTE: If you chose to save the keys in the putty directory, you’ll see that the keys don’t appear in the folder. It’ll look like nothing ever happened. This is made even more mysterious by the fact that puttygen.exe, and pageant.exe CAN see the files there.
Here’s what’s happening: Windows hates you. Windows thinks you’re really dumb at this point and is trying to protect you from yourself. The files, under the covers, have been silently relocated. You’ll now find the keys in
C:\Users\{USER}\AppData\Local\VirtualStore\Program Files (x86)\PuTTY
Don’t ask me why. Microsoft didn’t include me in the meeting about this, but there they are. I also wasn’t invited to the meeting where they explain how puttygen and pageant CAN still see the files in the location where you thought you put them. I really feel like I should be in on these meetings; I could save users a lot of headaches like this.
Installing the key on the WHM/cPanel server
This is exactly the same whether you’re doing it through WHM or cPanel. The screenshots are basically the same. The only difference is the level of access. If you’re installing root keys, it must be done through WHM. Account level keys are done through the cPanel account. Screenshots are for a cPanel user.
In WHM, go to Security Center > Manage root’s SSH Keys.
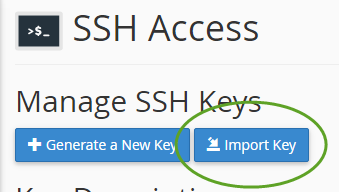
In cPanel, go to Security > SSH Access > Manage SSH Keys.
In either case, the button you’re interested in is Import Key.
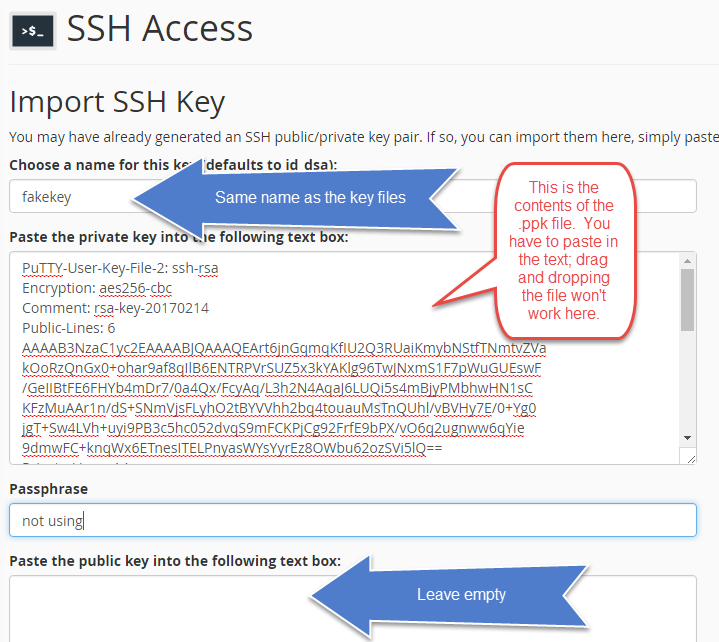
Put the same basename you used to name the key, as the key name. Paste in the contents of the .ppk file (not the file itself – the contents. You’ll have to open the key file with notepad or some such to do this).
While the Windows format of the private key file is different from the linux (OpenSSH) format, don’t worry about that. There’s no need to convert it – WHM/cPanel is smart enough to take care of that for you. WHM/cPanel likes you. Also, don’t worry about entering the public key file. The .ppk file has both the public and private keys inside of it; just put in the contents of the .ppk file into the private key box:
Now WHM/cPanel has your key in place. But you still have to authorize it.
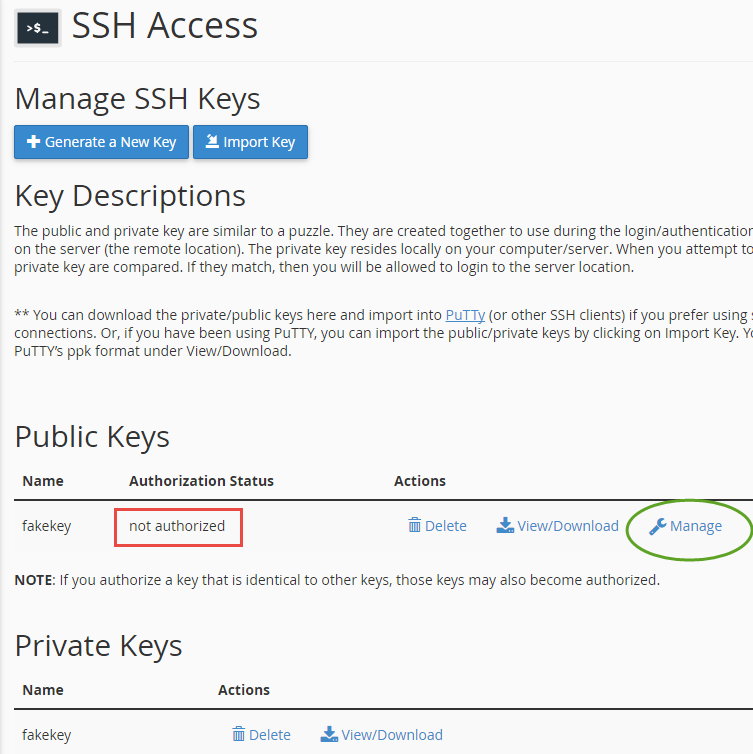
Click on Manage, then Authorize, and you’re all set. You can also deactivate a key just as easily.
Then delete the private key; you only uploaded it because WHM / cPanel doesn’t always seem to take the public key version PuTTY generates, but it does take the .ppk version and parse it correctly into the public and private keys. You don’t want your private key on the server, just the public one.
You now have an SSH Key on your computer, and have installed it on your server. Now let’s make it easy as pie to work with.
Setting up Pageant to manage your SSH Key(s)
Pageant is PuTTY’s SSH Agent. It will validate you via the passphrase you entered, and so long as it remains running, every time you open a new SSH connection (or SFTP session), it will present the correct key and passphrase to the server, so you don’t have to enter your passphrase on each new connection.
Go back to C:\Program Files (x86)\PuTTY and double click on pageant:
This will open up the program. Click on Add Key, guide it to the .ppk file that you created earlier, and enter the passphrase. You’re done. Now every time you open a new SSH connection (or SFTP session) with the corresponding username, the login will take place without asking you for a password.
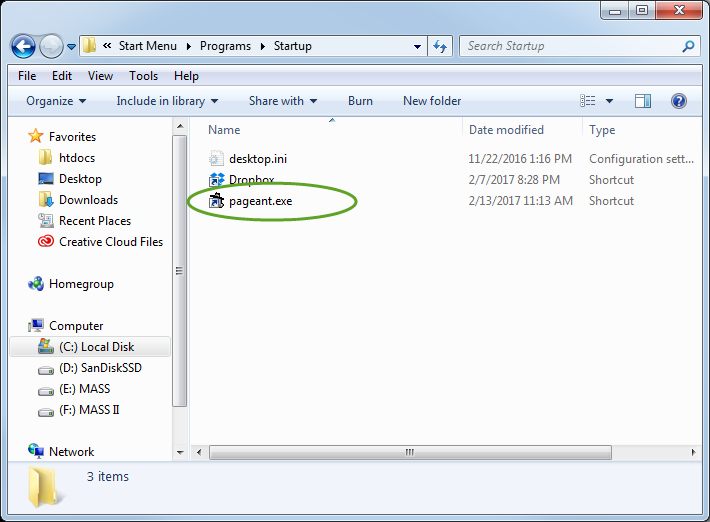
Now, to make this even better, let’s make pageant start up automatically when Windows starts. First, create a shortcut to pageant.exe and save it to your desktop. Now navigate to your startup folder. This is a folder where any programs or shortcuts placed in this folder will be triggered automatically on startup. It’s usual location is
C:\Users\{USER}\AppData\Roaming\Microsoft\Windows\Start Menu\Programs\Startup
Copy the shortcut into the startup folder:
Now right-click on the shortcut and click Properties. We’re going to have it load the key(s) you want on startup automatically. In the Target field, add the full path to the location of your key(s) after the first entry.
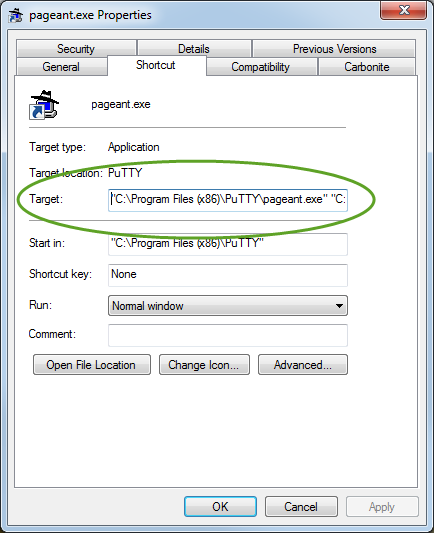
The entries are strings surrounded by double quotes, with a space in between. So for instance, to load our new key automatically, the full line of Target: will look like this:
“C:\Program Files (x86)\PuTTY\pageant.exe” “C:\key location\fakekey.ppk”
Or more keys:
“C:\Program Files (x86)\PuTTY\pageant.exe” “C:\key location\fakekey.ppk” “C:\key location\anotherkey.ppk”
Then, the next time you start your computer, you’ll see pageant ask you for the passphrase for each key being loaded.

Enter it now, and for the rest of the time pageant is up you’ll be logged straight in to the corresponding account. Magic.
And you can manage your keys anytime quickly via the system tray. You’ll find this little guy in there; that’s the pageant icon. Clicking it will bring up the pageant program where you can manage the keys it’ll use.
![]()
Open up a PuTTY session with your username (either stored or entered at the command line, and you’ll see you’re escorted through with no password:

You’re welcome.